
Getting Your RV Ready for Summer
RV season is here again! It’s time to get that RV out of self-storage and hit the open road. But first you’ve got to get your RV ready to go. That means doing some basic inspection and maintenance to make sure everything is in proper working order.
 Check the Exterior
You’ll want to take a walk around and one top of your RV to examine the caulking around your windows, air conditioner, and vents. The goal is to identify any cracked or missing caulk, which could let water in and cause major damage. Next, you’ll also want to inflate your tires to the correct tire pressure. While doing this, double check that there are no leaks which could mean a crack in the sidewall or tread. If you find any, don’t fool around—get that tired replaced. The last thing you want is a blowout on the road. You might also want to check the tightness of your lug nuts. If you have a trailer, you’ll want to repack your wheel bearings. According to Tom Morr of Trailer Life, your wheel bearings should be repacked annually or every 10,000 miles. Finally, give your RV a nice washing to remove any dust or other sediment that has built up over the winter months.
 Inspect your Batteries
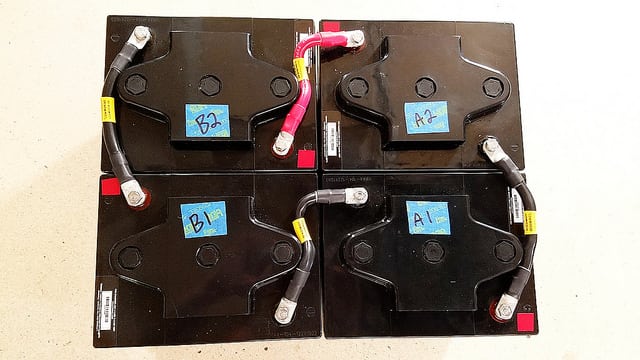
Your batteries are a vital part of your RV, so making sure they’re in tip-top condition is imperative. Disconnect your shore power and switch off the main power switch and any lights and electric appliances. Check the battery voltage using a multimeter. A 12-volt battery should be between 12.5 and 12.7 volts when not in use. A 6-volt battery should be between 6.25 and 6.35 volts. If you have batteries with removable caps, check to see that you have adequate water levels. If the water is low, add enough distilled water to cover the plates. If you need to replace a battery, you’ll want to replace all the batteries in the bank. Do not add a new battery to a set of old ones in the same bank.
Now clean the battery terminals and connections using water and baking soda to remove any corrosion. You may also want to clean the tray that your batteries set on.

Flush Out the Water System
If you’ve put anti-freeze into your water system to protect your lines, pump, and water tank over the winter, you’ll obviously want to get this removed. Luckily this is easy to do. Add a cup of bleach to a gallon of water and pour it into your water tank. Then run all of your RV’s faucets until you smell the bleach. Wait 24 hours to let that bleach mixture thoroughly sanitize the system, then drain it out and fill it up with clean water. This process will need to be done a few times in order to get all the bleach smell out of the water.
 Clean & Test Appliances

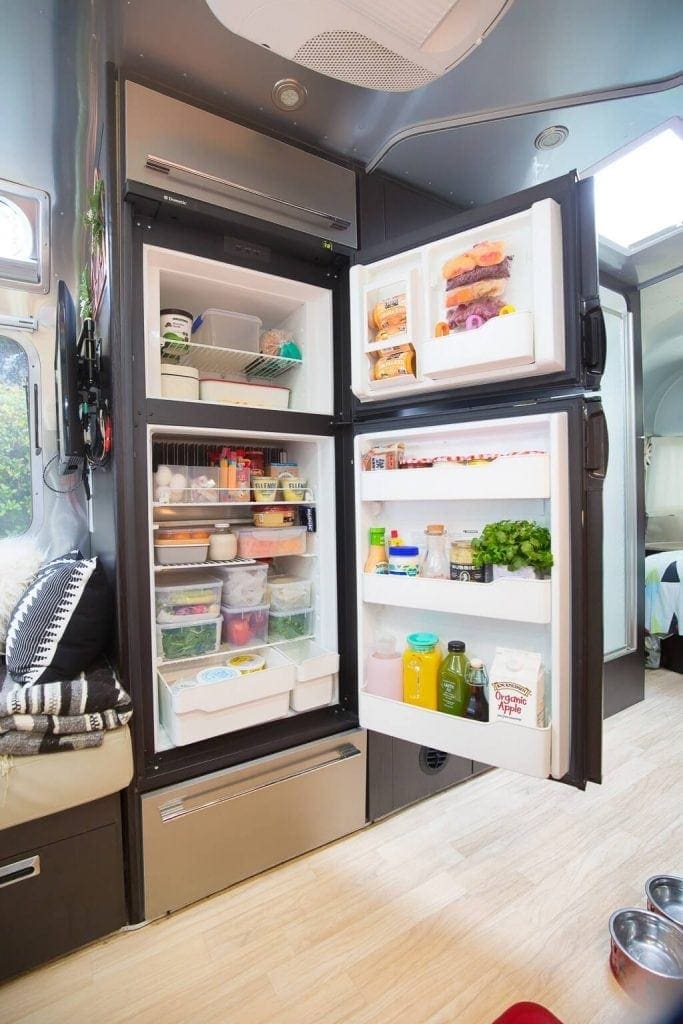
Depending on where you store your RV, your appliances such as your refrigerator and water heater access covers may have become temporary homes for spiders or even mice. Take some time to inspect these access points and clean them if necessary. You’ll have most likely cleaned your fridge prior to putting it away for the season, but you’ll still want to do a quick wipe down to make it fresh.
Now, turn on your propane tank and light the stove burners to remove any air in those lines (make sure to turn those burners off after a minute or so.) Light the gas refrigerator as well (no need to turn this back off.) You’ll also want to test the water heater and furnace. Lastly, replace the batteries in your smoke and carbon monoxide detectors.
Test the Generator
If your generator has a prime feature, first prime the generator to get fuel into the lines until you see the indicator light turns on for the fuel pump. Then run the fuel pump for 20-30 seconds to get the fuel into the carburetor. Then start your generator. If you do not have the prime feature, you’ll have to crank it, letting it cool down after it’s been cranked for 15 seconds. Repeat this until it starts. After you’ve gotten it to start, check the oil level and add additional oil if needed. Also inspect the air filter for potential replacement.
Waste Tank Valve and Dump Hoses
Assuming that your waste tank is empty, you’ll want to check your tank’s valve seal by working the handle in and out in short strokes to test whether it’s closing correctly. If the valve is hard to open and close, lubricate it with some valve lube. You may want to take the RV to a dumping station and hook it up to make sure the valve is working correctly. You’ll also want to inspect your dump hose prior to this, looking for any holes or tears. Things could get messy if you had a faulty hose!
Propane Tanks
You’ll also want to check your propane tank valves for leaks. Do this by applying a soapy water mixture on the valve and regulator and then opening the valve. If you see a leak, get your tanks professionally repaired. Don’t try to do this yourself.
If you follow these steps, you’ll be off the a great summer of RVing and you’ll be keeping your RV in great condition for down the road. For further answers to your RV questions, visit CamperFAQs.com. And when it’s time to store your RV in the fall, here are some handy RV storage tips. Have fun this summer!

About the Author: Derek Hines
Digital Marketing Specialist
Derek is originally from the great state of Wisconsin (go Badgers), but is slowly becoming a Pacific Northwesterner. As part of the Digital Marketing team, he writes extensively on storage, moving and life for West Coast Self-Storage, based in Everett, Washington.